Nexelit Multipurpose Website & Agency Business CMS is the perfect agency business or any kind of website with this PHP Script. Nexelit is a better way to present your business, corporate website, construction website, interior, agency, events, event ticket selling, donation website, crowdfunding, fund rising, job posting, manage your customer, quotation, clients feedback, product selling, digital product selling, physical product selling, downloadble product selling, various kind of website etc.
whoever already upgrade to version 2.0, they don’t need to update database, they can only update controller and views file
Update Process
Step 01:
Login to your cpanel or any panel you have, go to file manager and go to the folder where you install Nexelit – Multipurpose Website & Business Management System CMS.
Step 02:
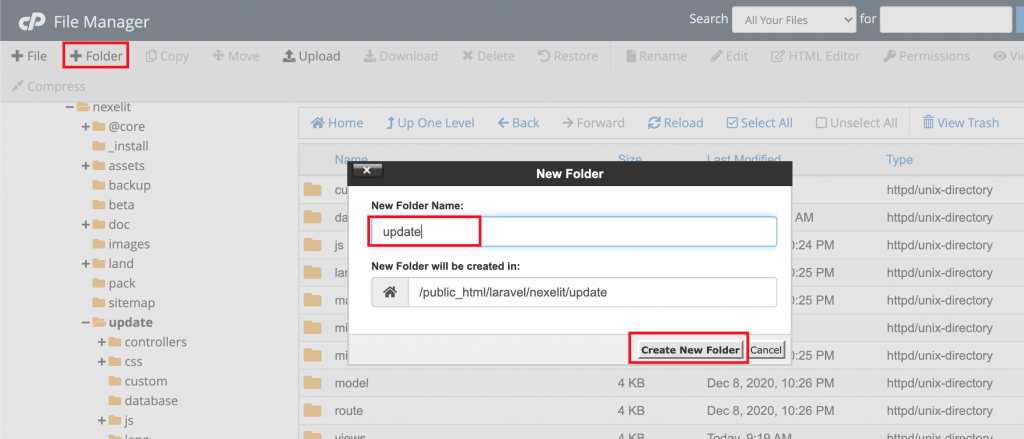
now create a folder name update
Step 03:
upload nexelit update file you will get it from codecanyon.
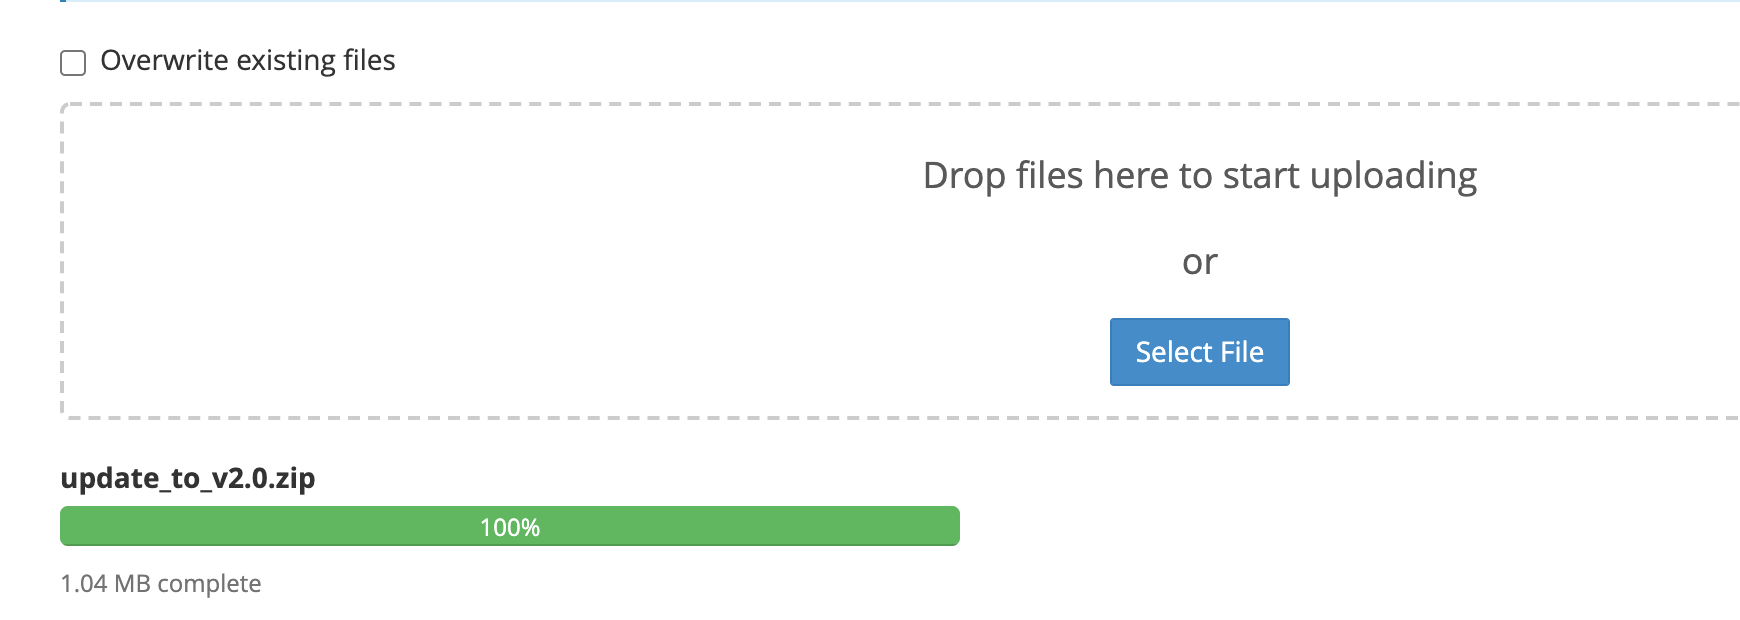
in your download folder you will find a folder name is update, inside this folder you will find a zip file, upload this file server inside update folder
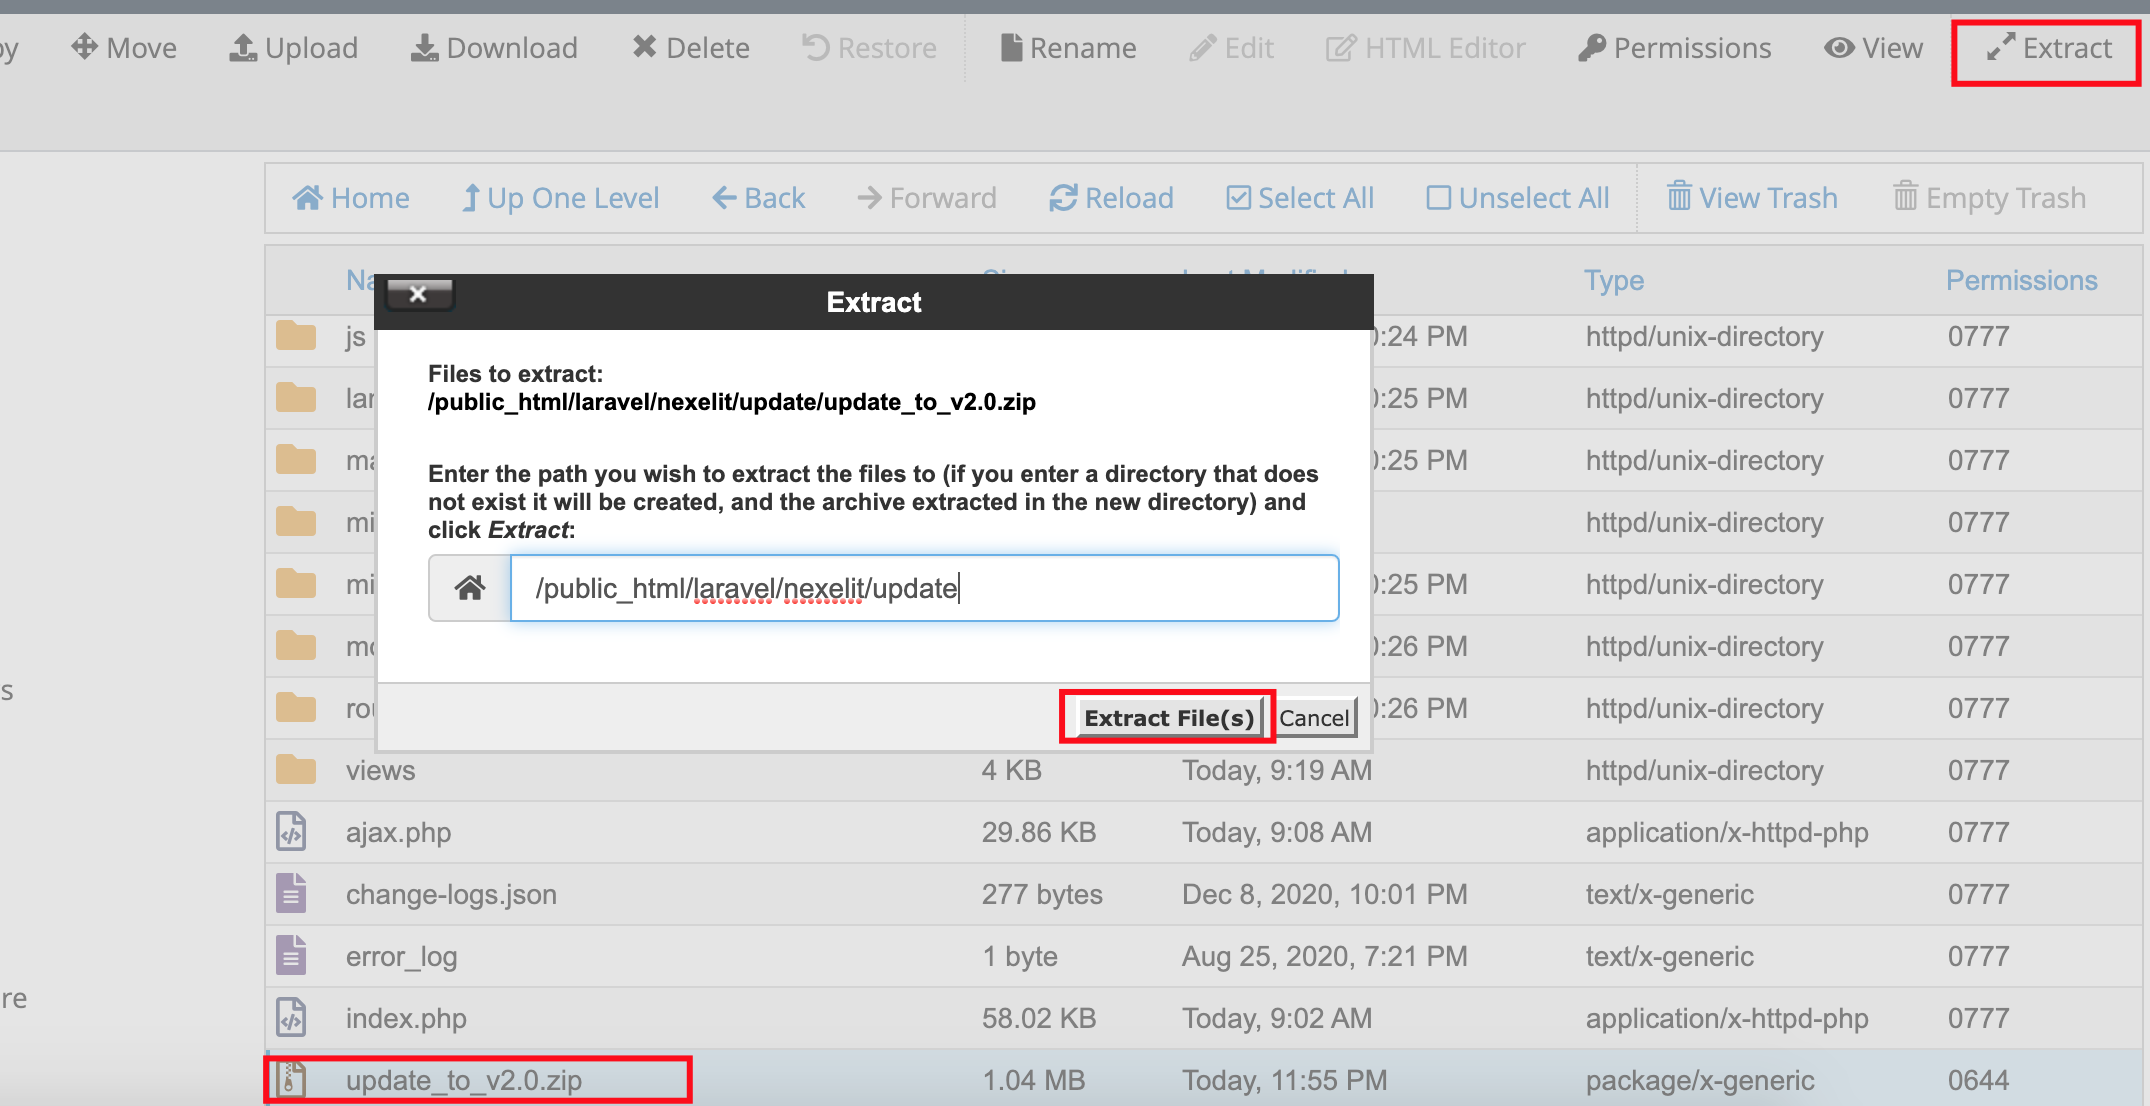
Step 04:
skip this step if you does not have any extra update folder inside update folder
move all file from update folder of inside update folder.
Step 05:
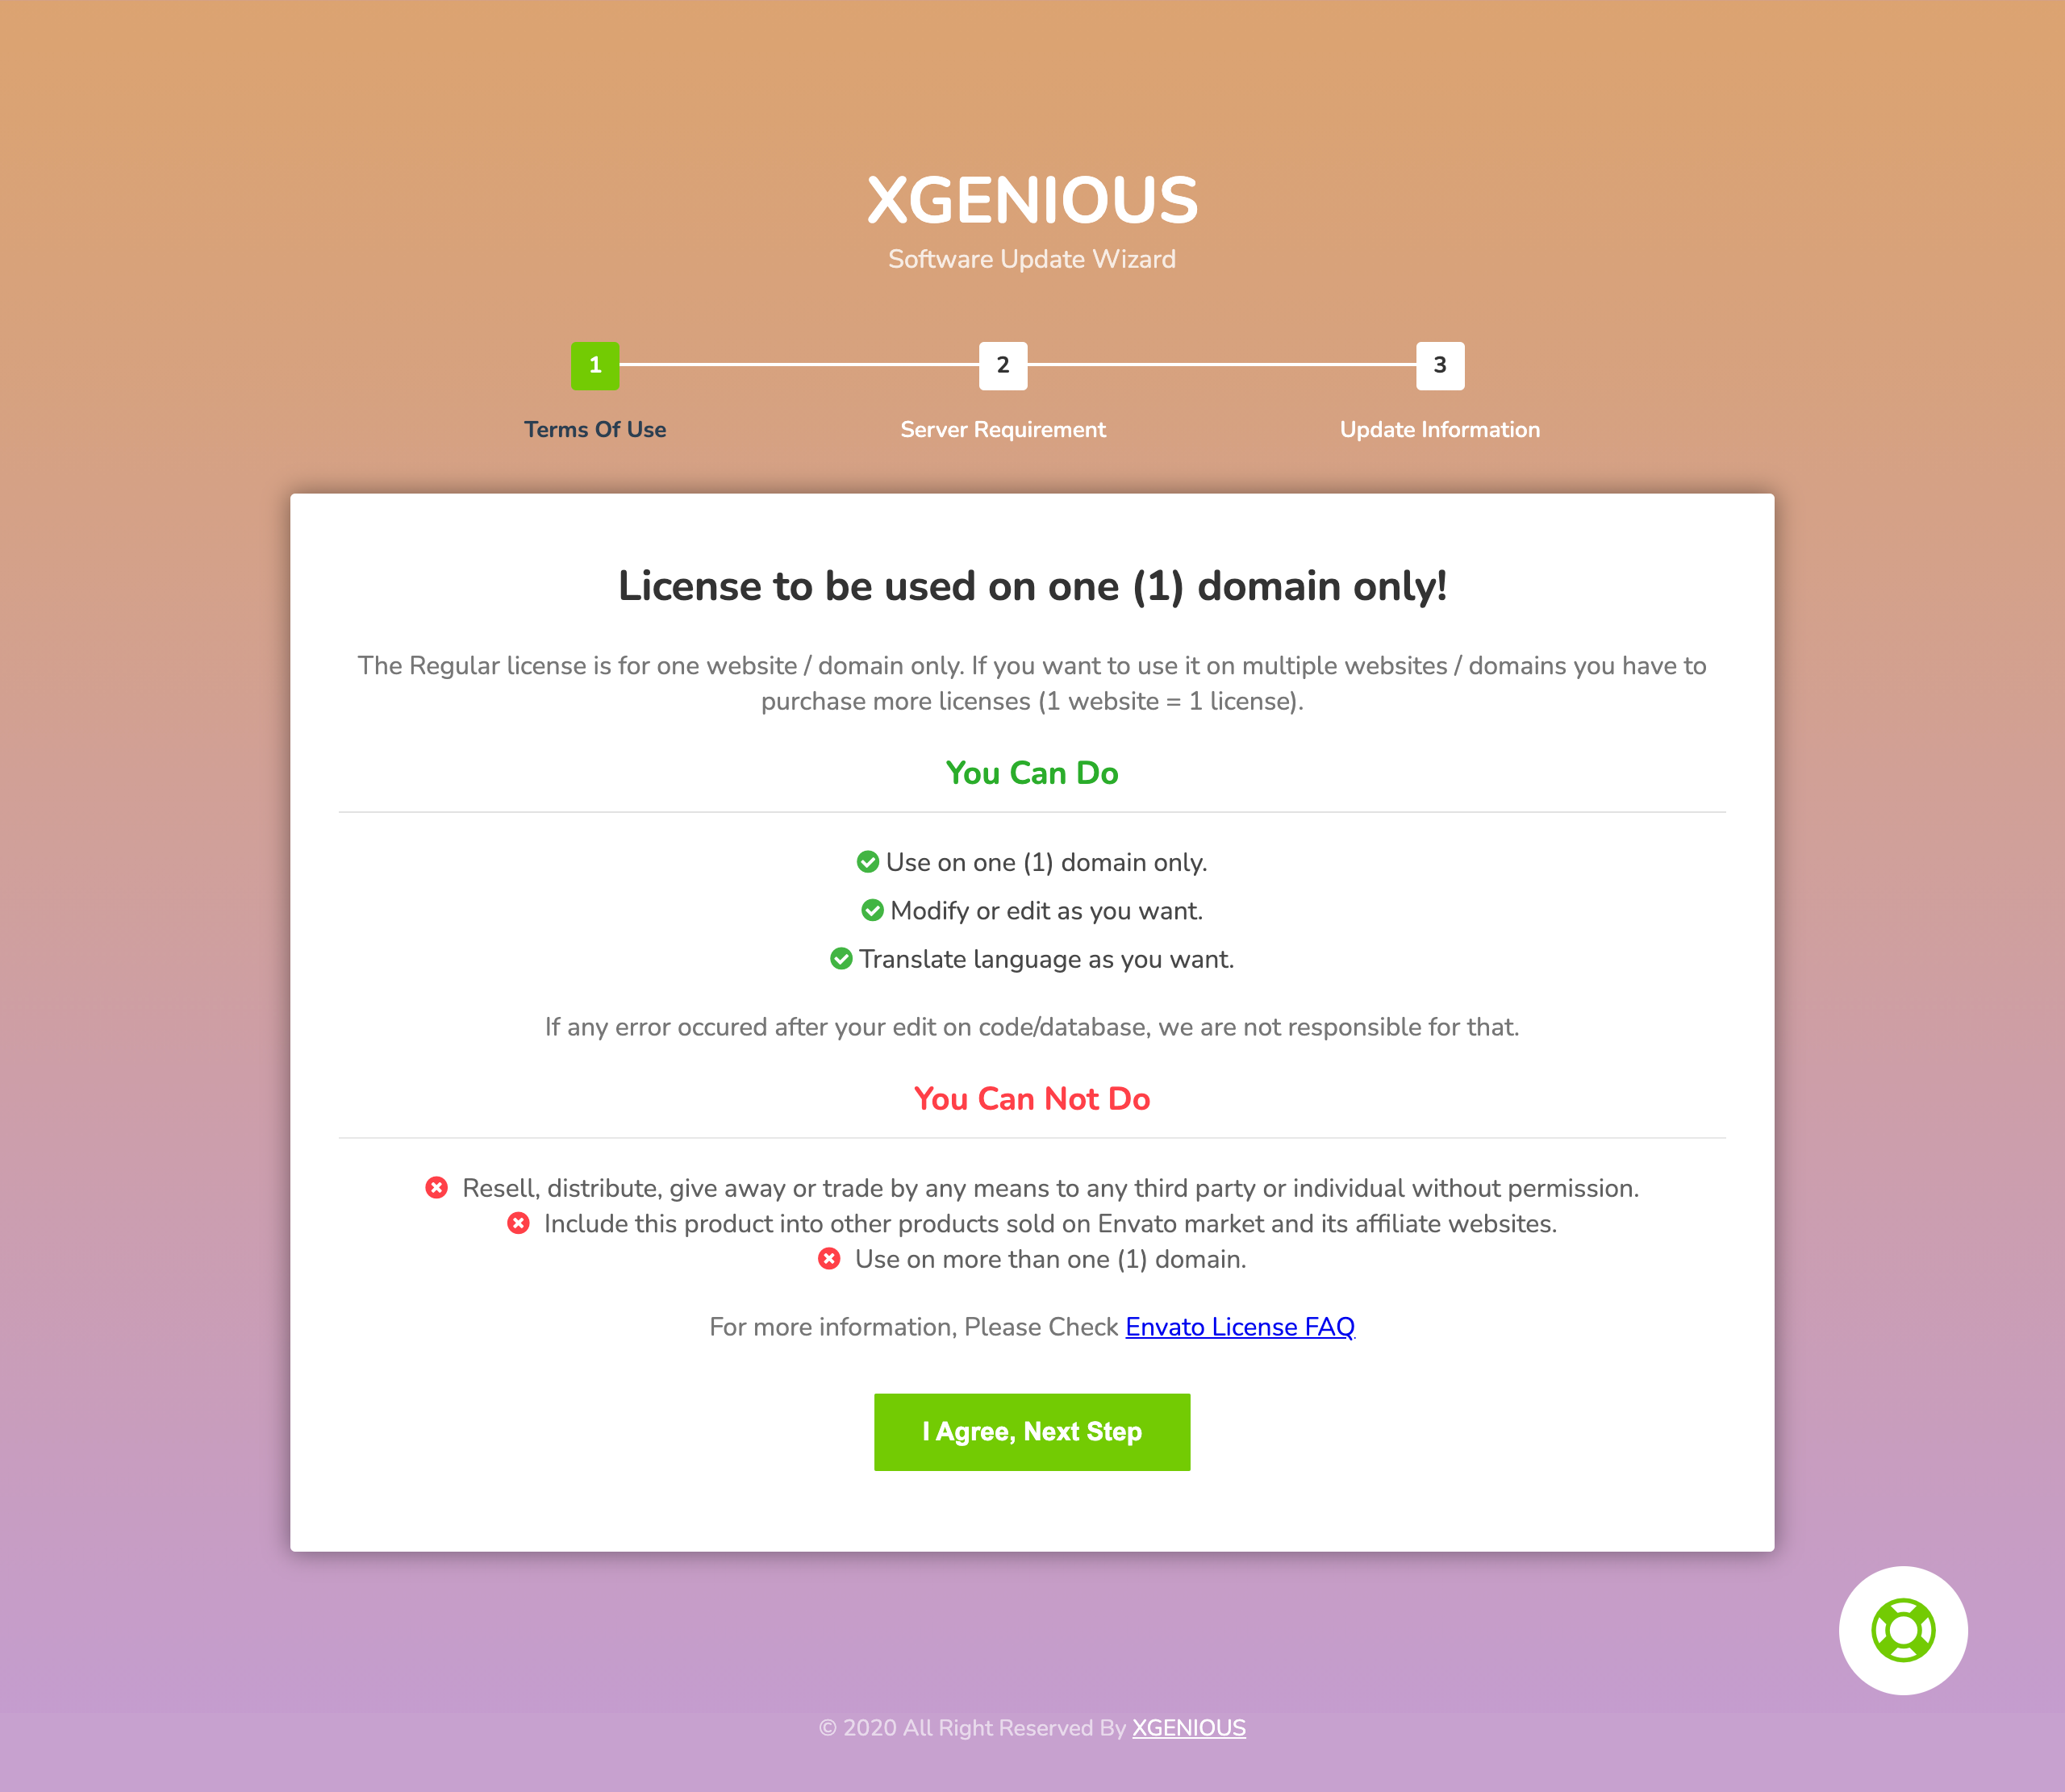
now go to your domain.com/update url and hit enter to see update wizard, update wizard will be like below picture.
Step 06:
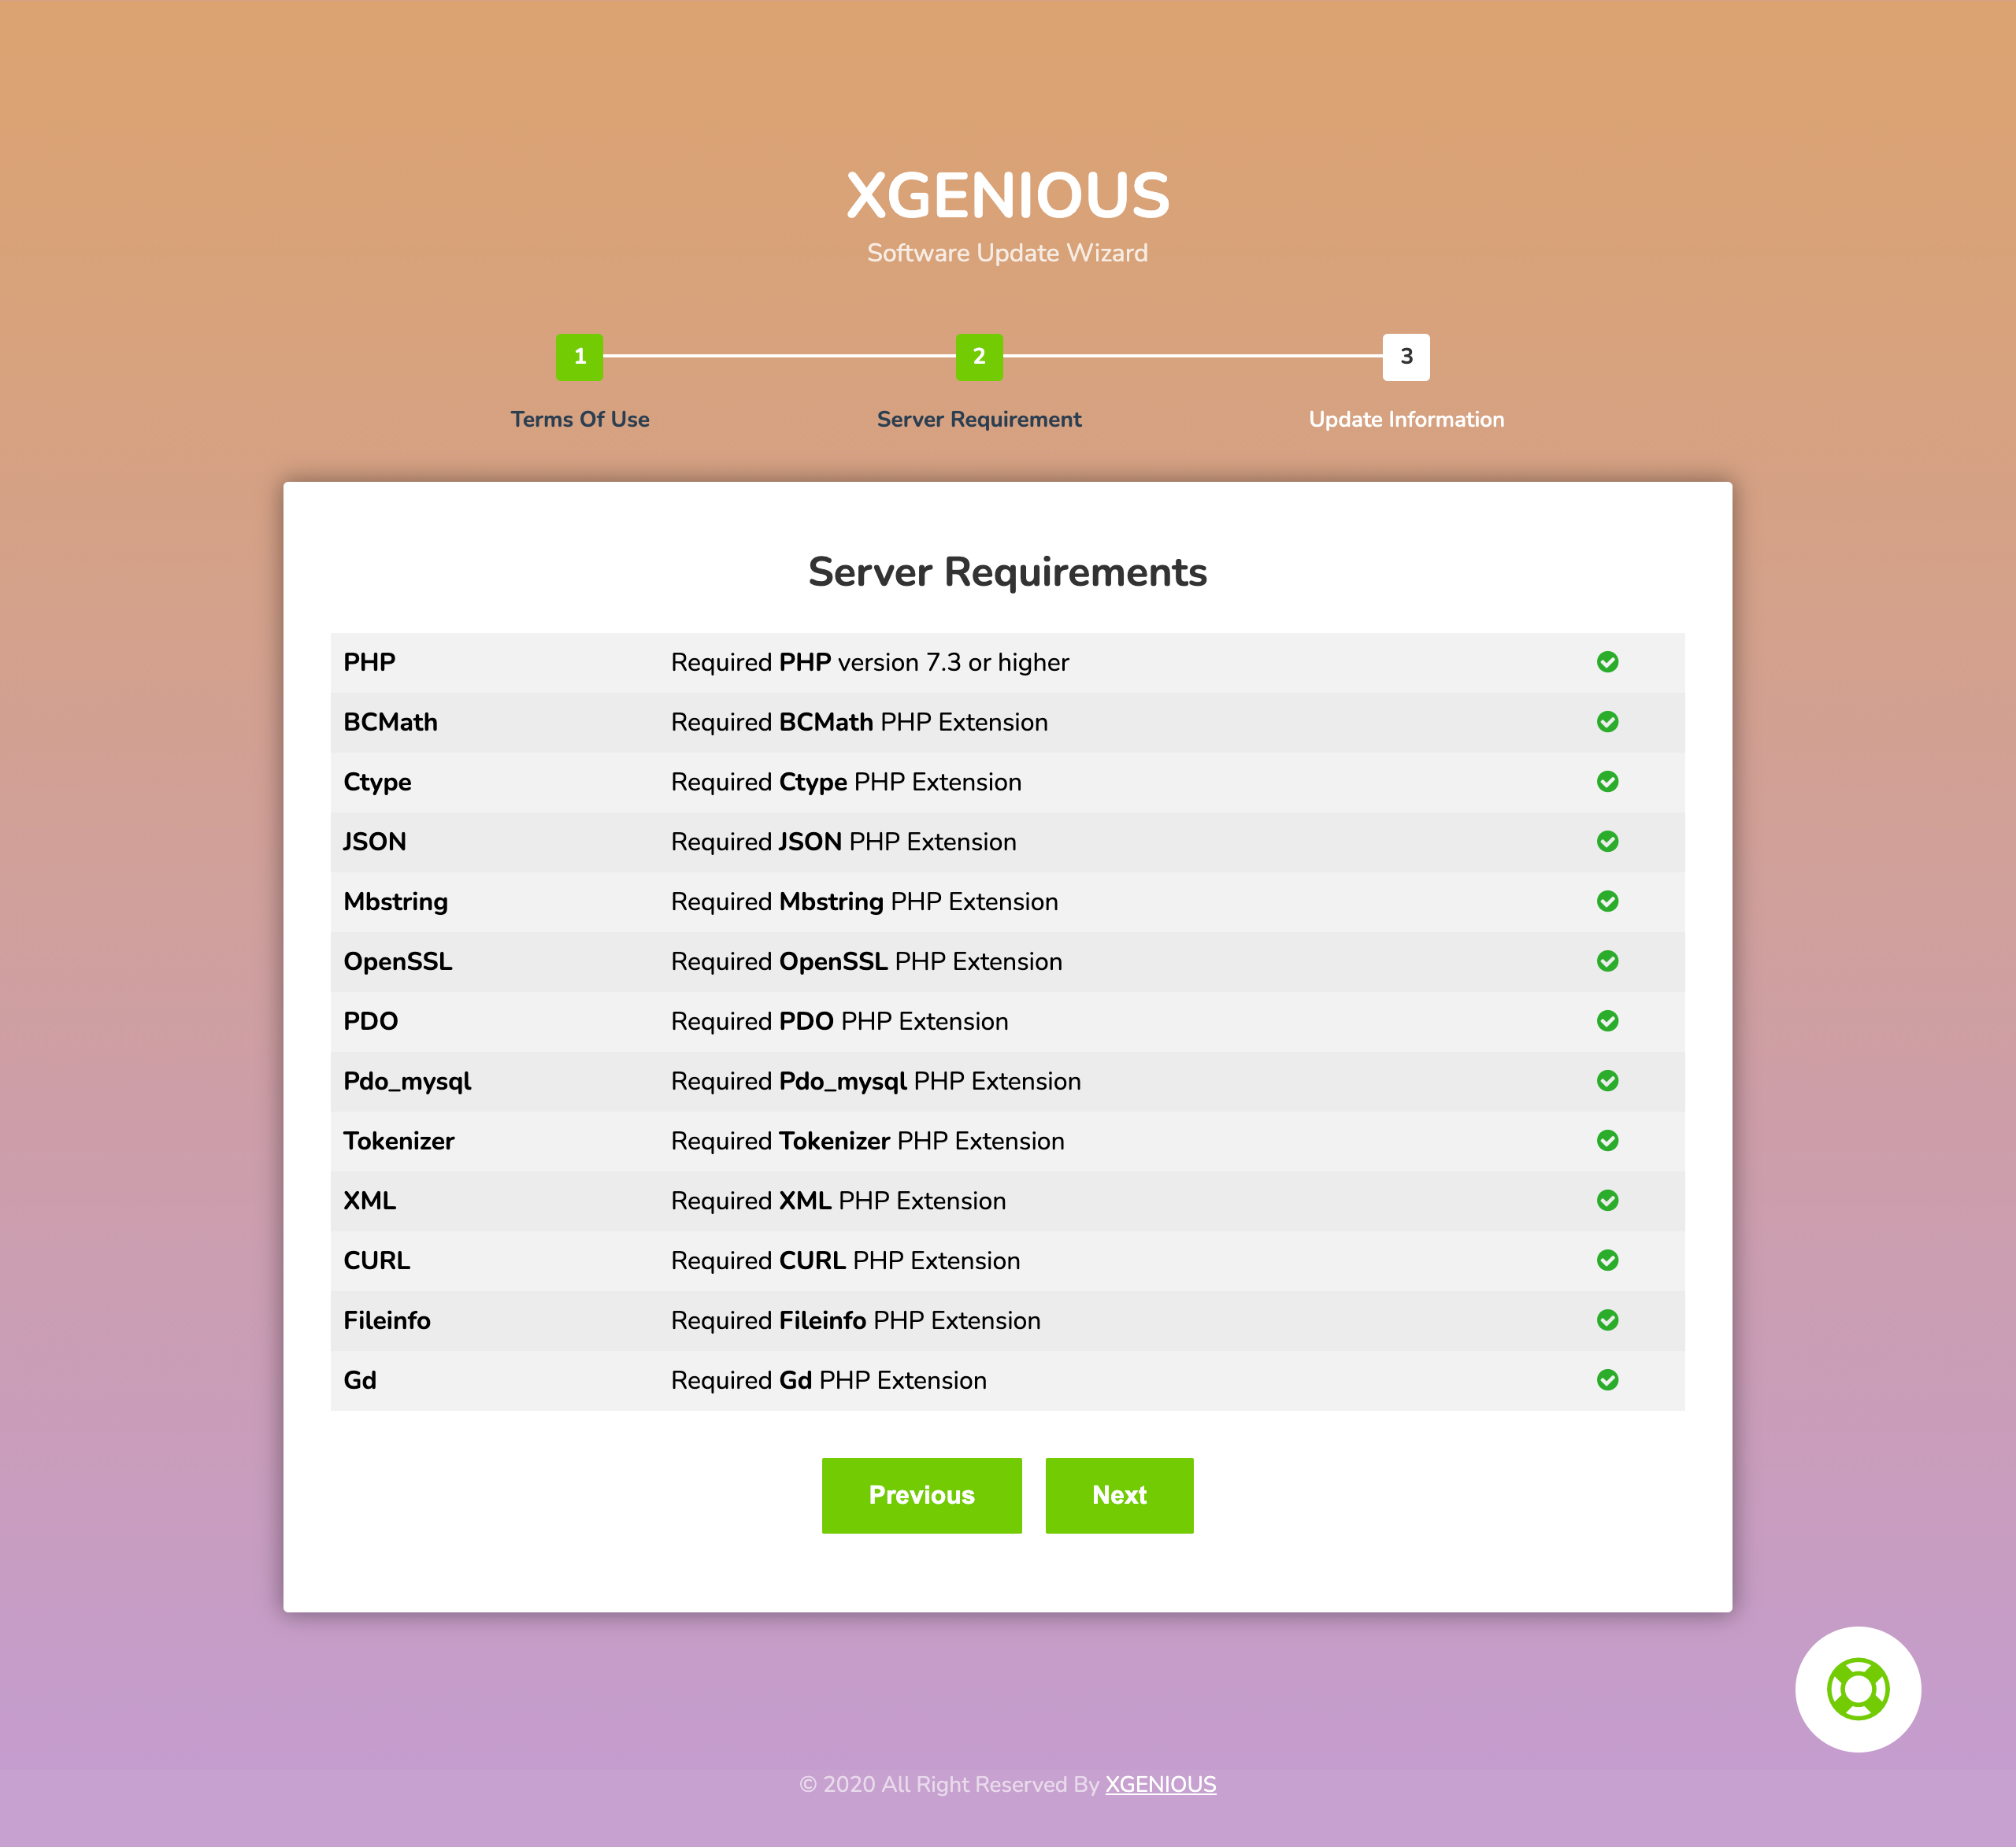
click on “i agree next step” and then see all permission is ok or not. if all are green check mark click on “next” button.
Step 07:
now you will find option to put your database host name, username and password.
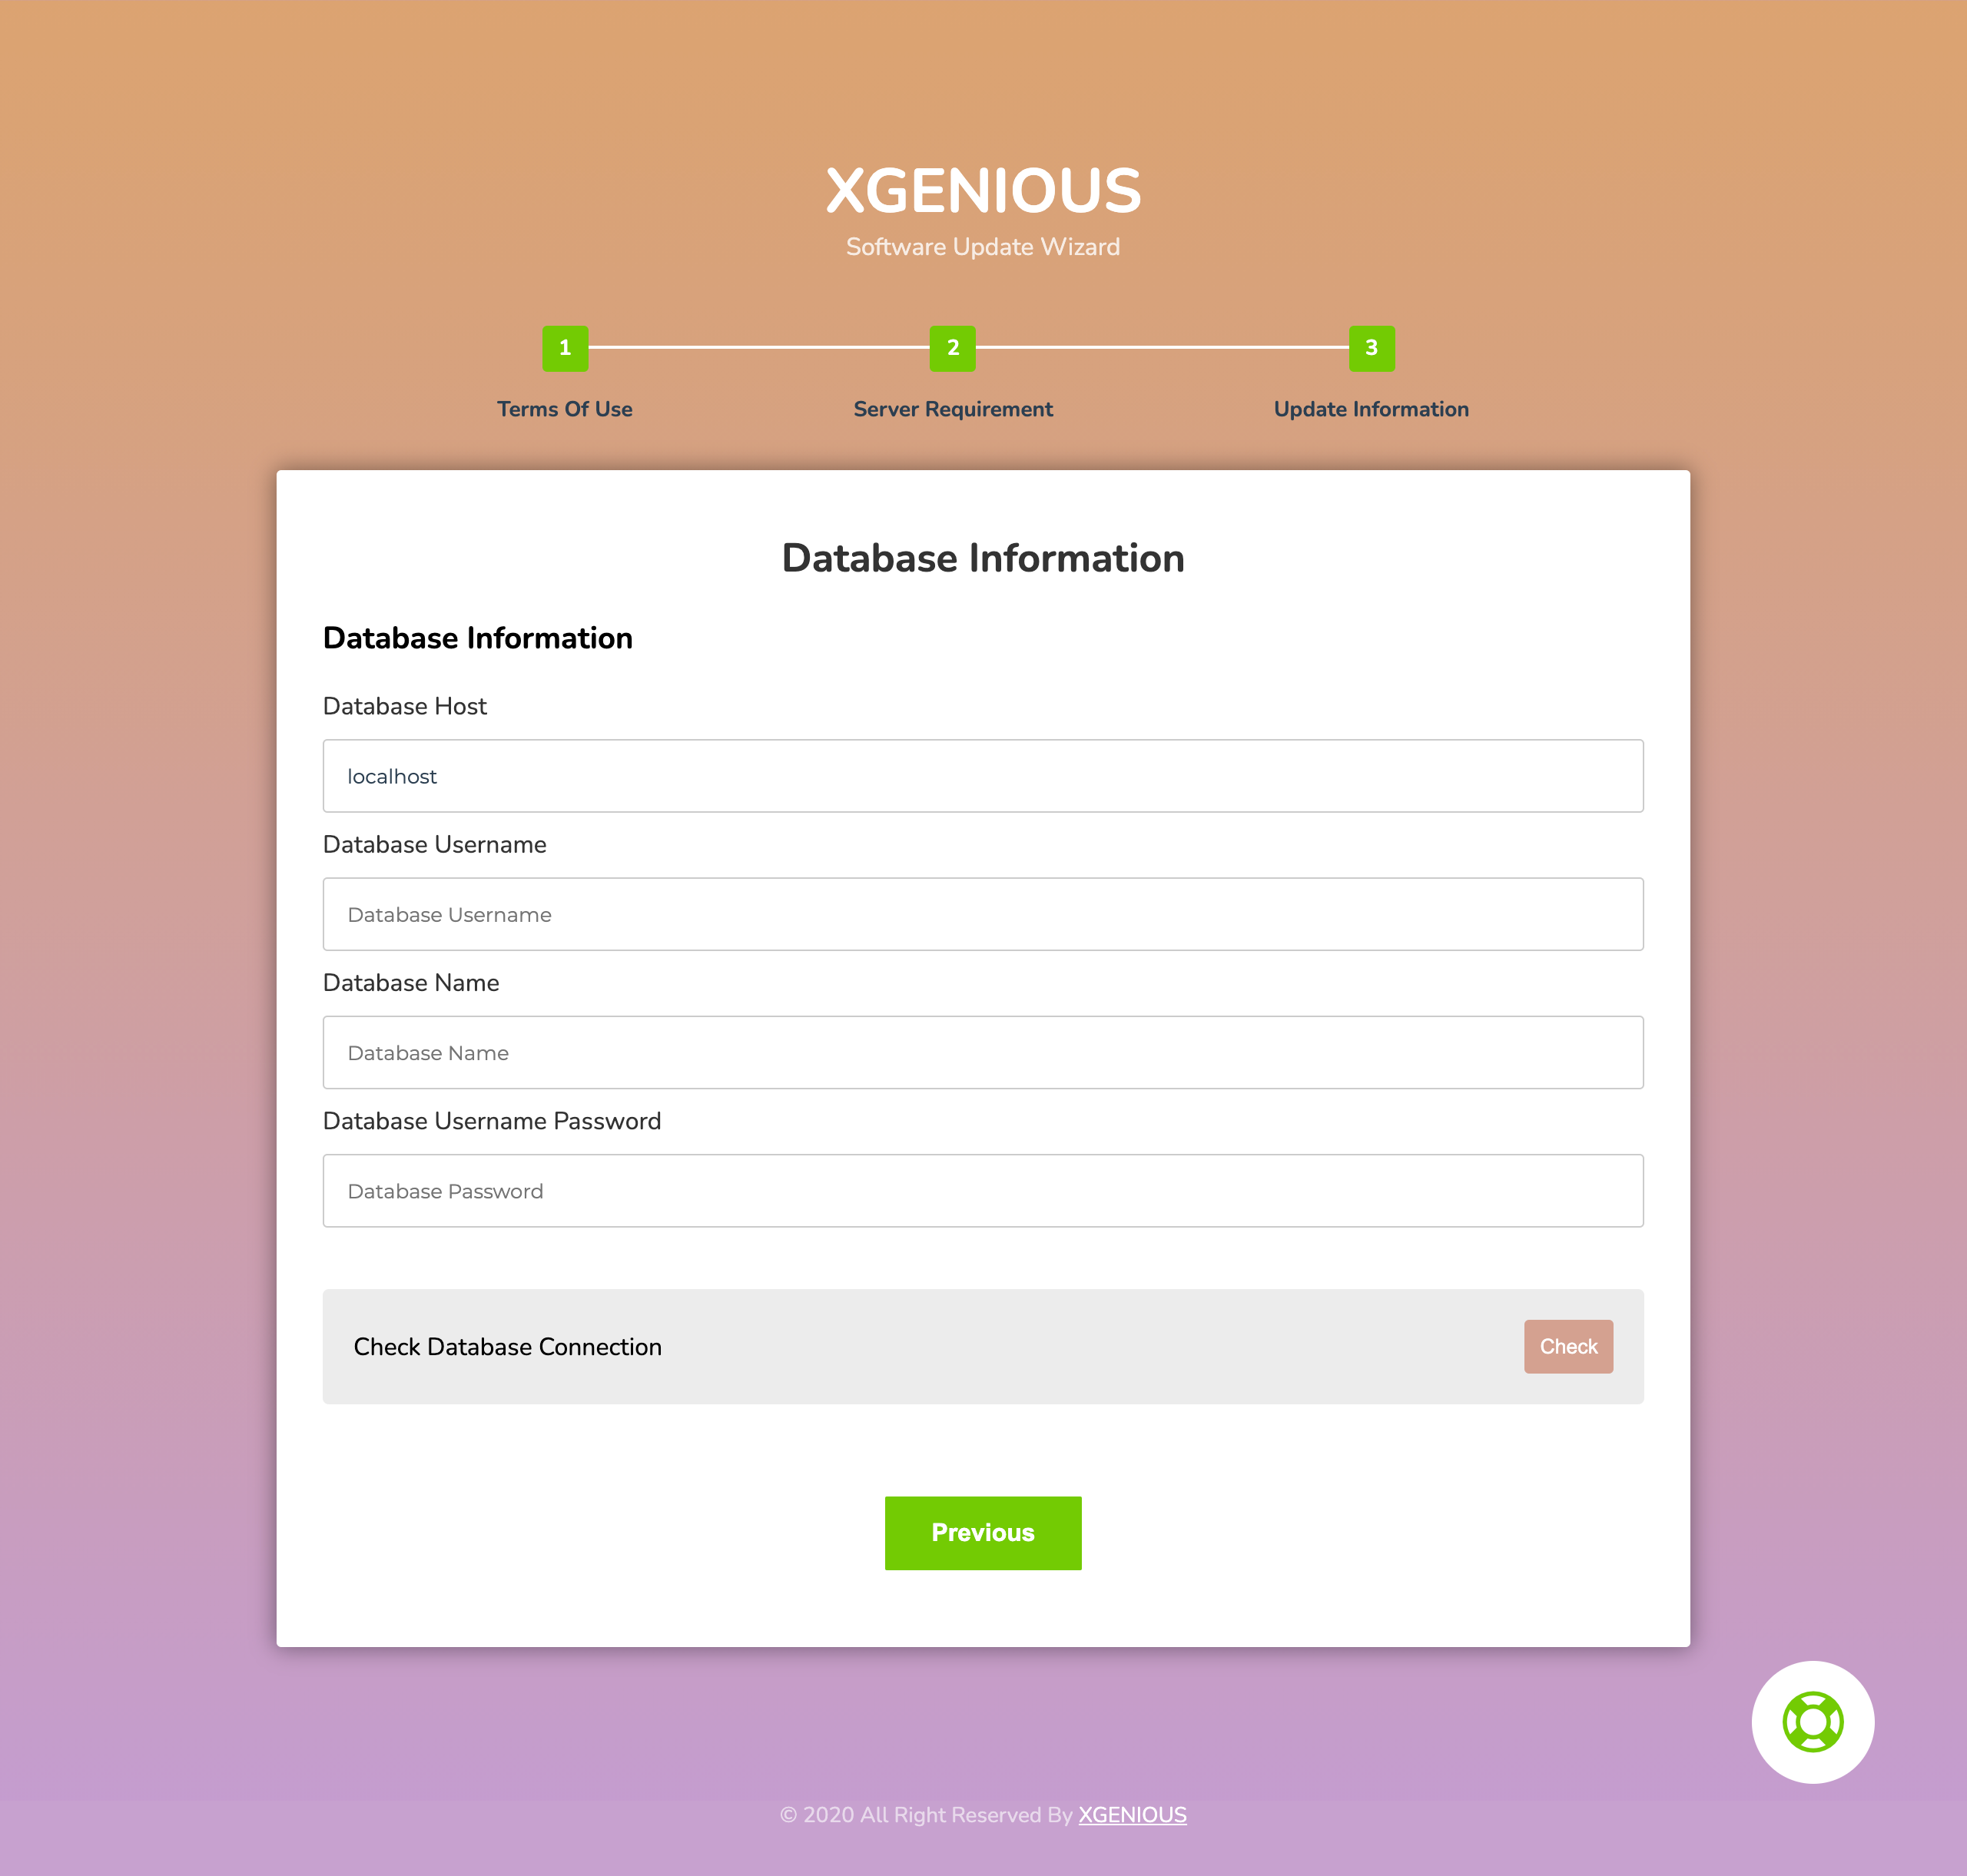
Step 08: click on “check” database connection button, if you all database info is correct you will see option to update file as like below.
if you database info is wrong, or password filed is empty (by default all field should have been filed automatically).
if it happened with you check your script database details from “@core>.env” file.
Step 09:
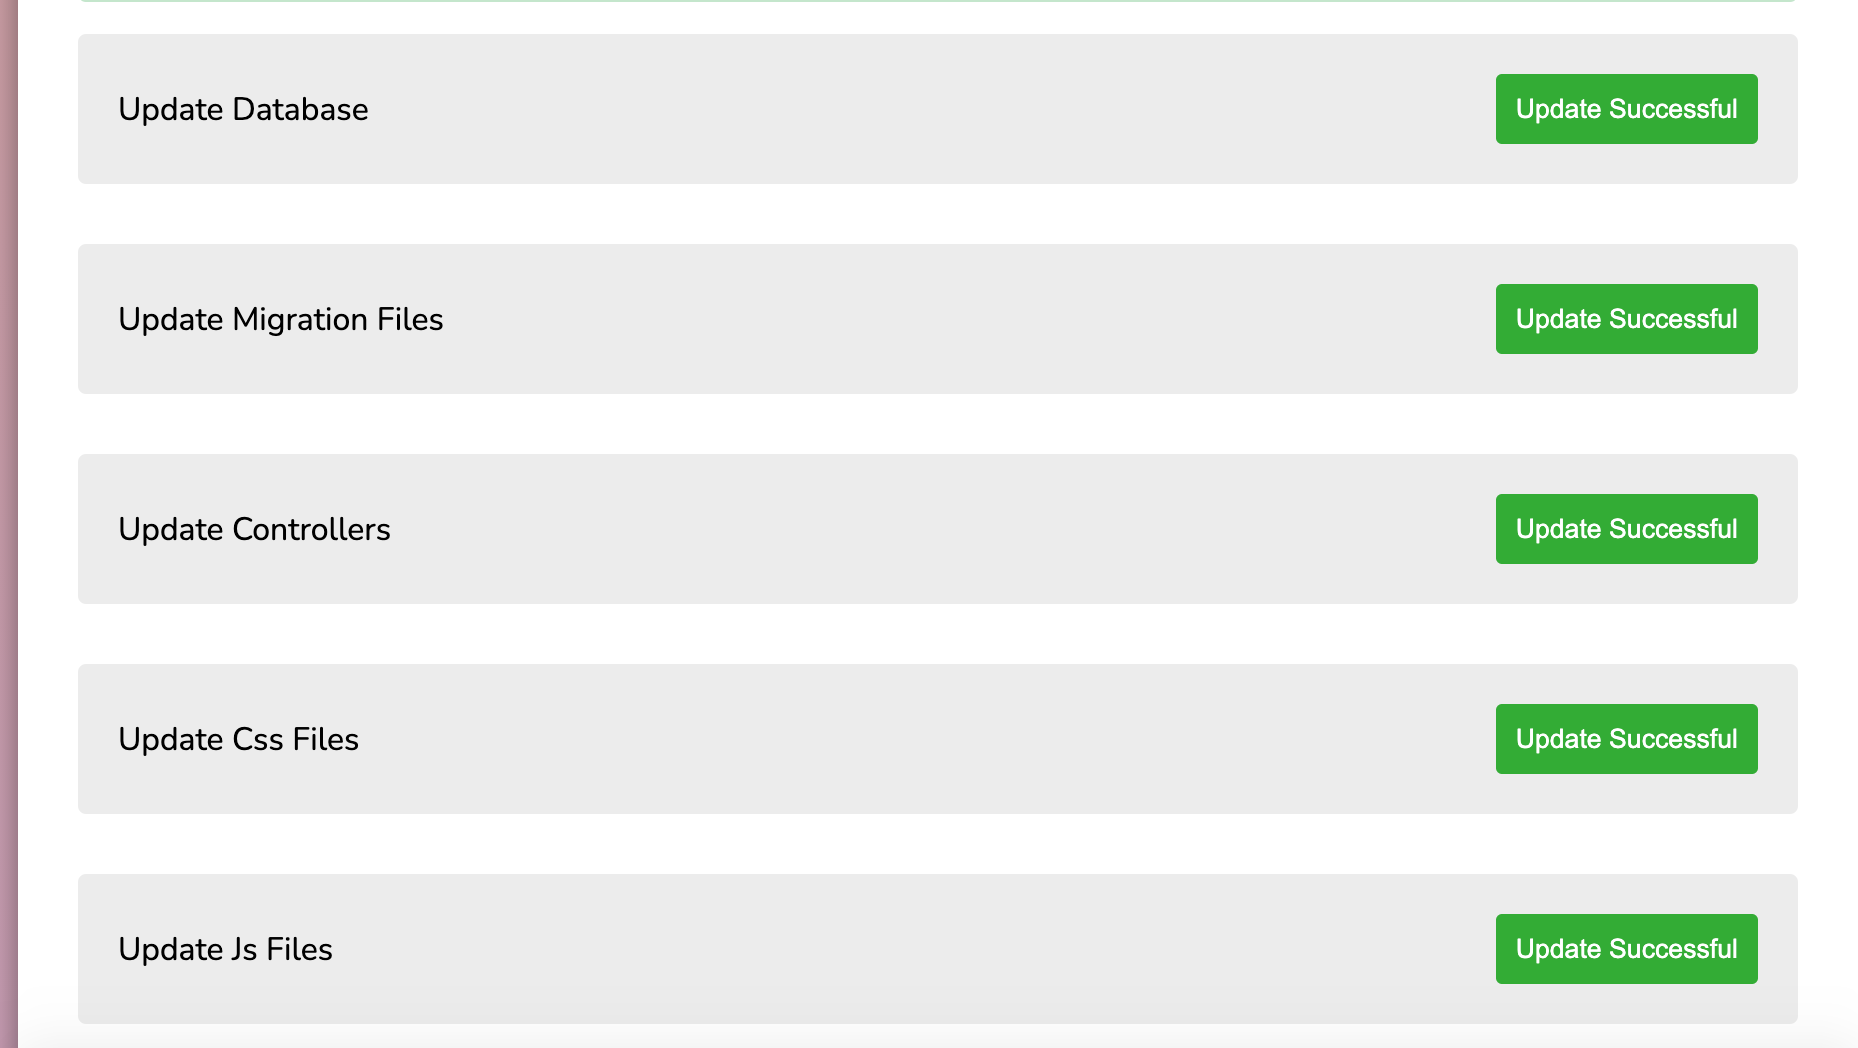
click on all update file one by one
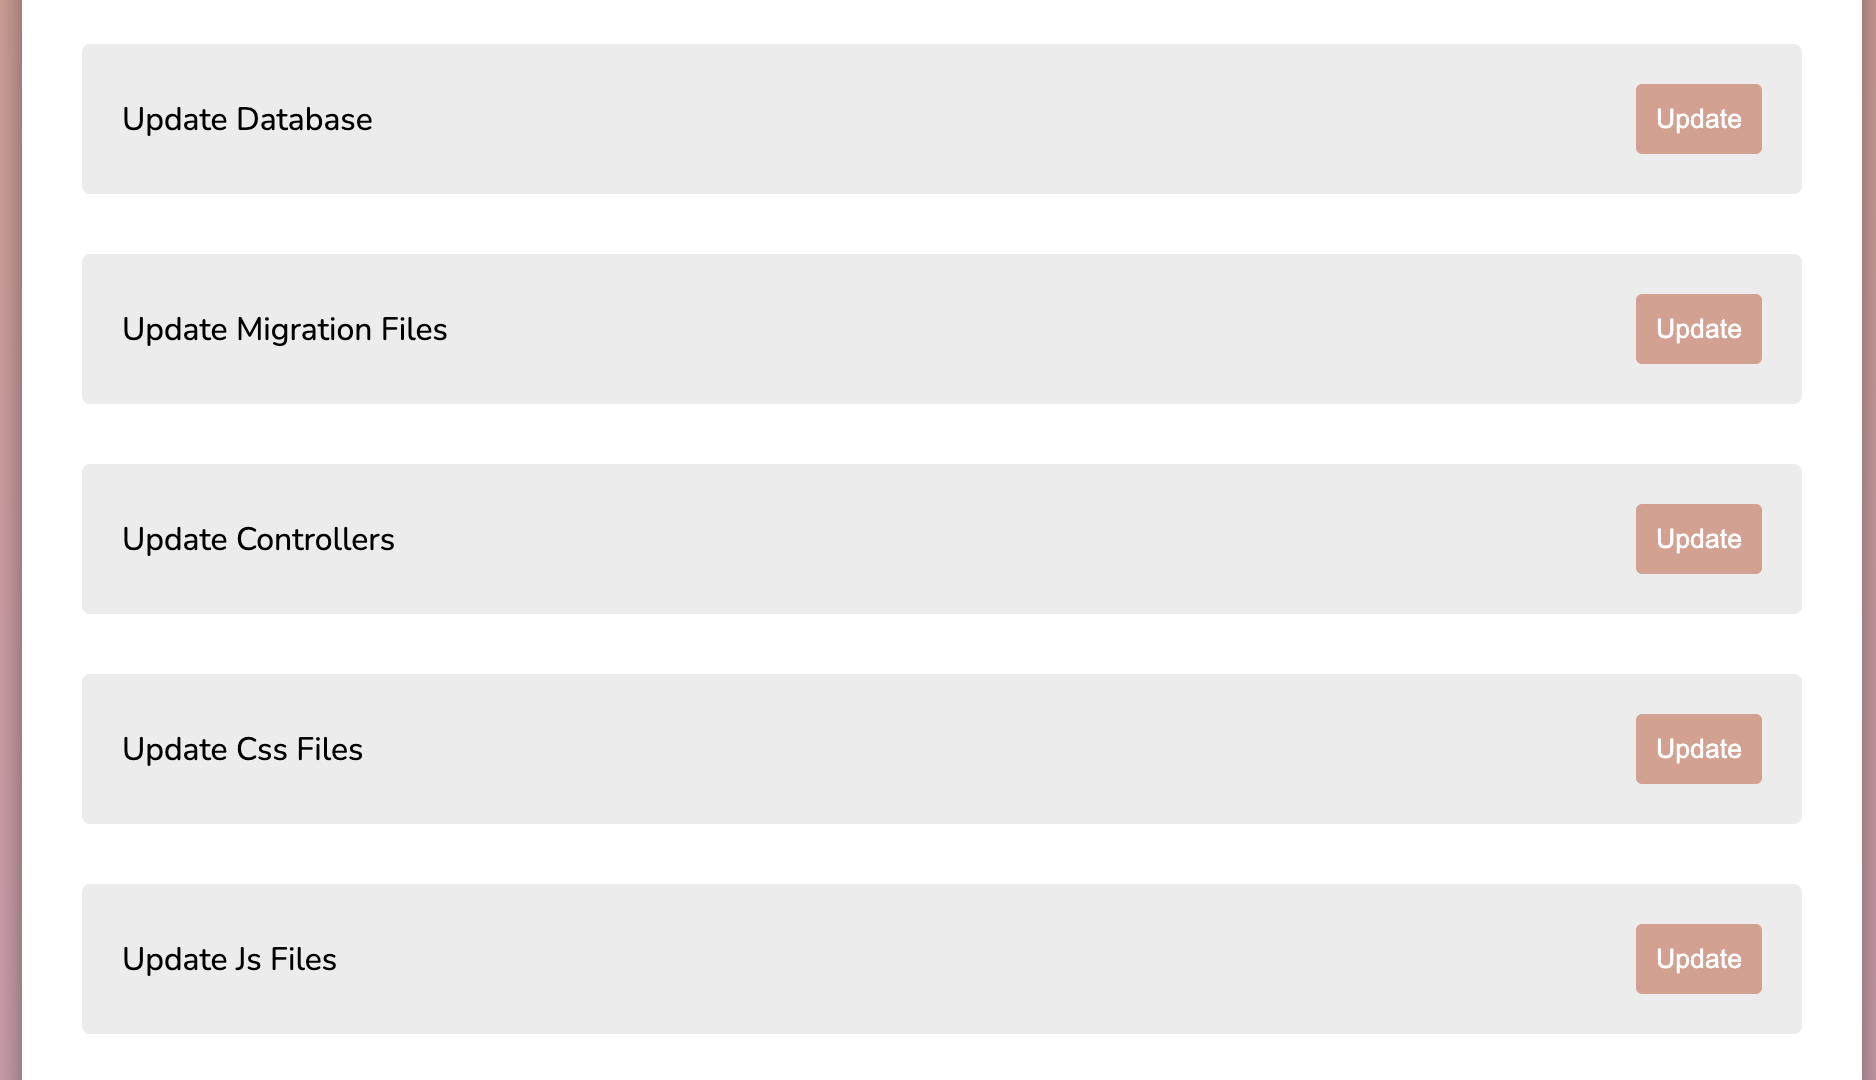
if all of update success you will see update success with green color as like below.
Step 10:
congrats!! you update process is done, now you need to delete update folder and visit you site.
Enjoy Thanks for reading this article
